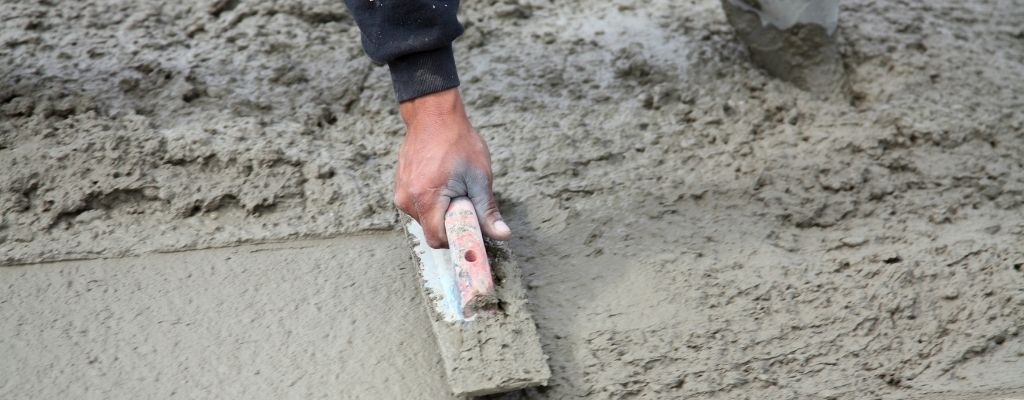
Concrete finishing can make the difference between a slab that looks great for years and one that quickly develops problems. Whether you’re laying a patio, driveway, shed base or workshop floor, taking the time to finish concrete properly will improve both its appearance and durability.
While larger projects are often best left to experienced contractors, many DIY enthusiasts can achieve good results by following the correct process and avoiding a few common mistakes.
The following is a step-by-step guide to concrete finishing.
✅ Order ready-mix or volumetric concrete today
✅ Free, fast quote within 24 hours
✅ Call, message or complete our simple online form
Flowmix Tewkesbury: Tel: 01684 217888 Flowmix Walsall: Tel: 01922 741731
Step 1: Pre-Pour Preparation
Before the concrete arrives, make sure you have everything ready to go.
Your formwork should be secure and level, the sub-base properly compacted and all tools within easy reach. Once concrete is poured, time becomes important, so preparation is key.
It’s also worth thinking about the finish you want to achieve. A brushed finish is ideal for driveways, paths and patios, while a smoother finish may be more suitable for garages and internal floors.
Step 2: Compact The Concrete If Necessary
For thicker slabs or areas that require additional strength, the concrete may need to be compacted after placement.
This helps remove trapped air pockets and ensures the concrete fully fills the formwork. On smaller domestic projects, this is often done by tamping the concrete with a straight timber beam.
Removing air pockets helps create a stronger slab and can reduce the risk of surface defects later on.
Step 3: Begin Levelling the Concrete
Once the concrete has been spread across the area, the next step is to level it.
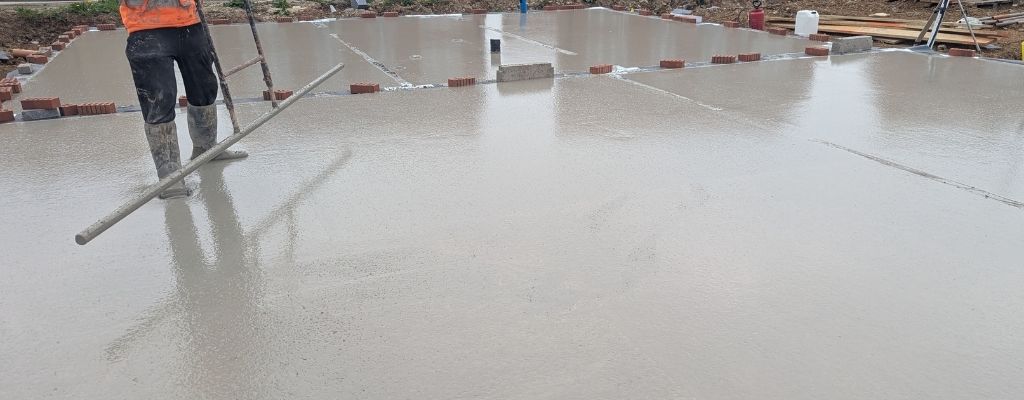
Using a straight edge such as a timber board or aluminium beam, work across the surface in a gentle sawing motion. This exercise removes excess concrete and brings the slab down to the correct level.
Don’t fret about achieving a perfectly smooth finish at this stage. The goal is simply to create an even surface ready for the next steps.
After the initial levelling process, a float can be used to further smooth the surface.
For larger areas, a bull float ( specific long-handled tool for concrete smoothing) is commonly used, while smaller projects can often be finished with a hand float.
Floating helps remove ridges and fills small low spots left behind during levelling. It also helps bring a small amount of paste to the surface, creating a more consistent finish.
One important point is to avoid working the concrete too early. If there is still water bleeding onto the surface, it’s best to wait until it has disappeared before continuing.
Need Expert Advice?
Speak to the team at Flowmix Tewkesbury, Gloucestershire or Aldridge, Walsall. We are happy to help with all your concrete requirements. Contact us by email or telephone.
Flowmix Tewkesbury: Tel: 01684 217888 Flowmix Walsall: Tel: 01922 741731
Step 4: Cut Control Joints
Concrete naturally shrinks during curing and expands and contracts as temperatures change.
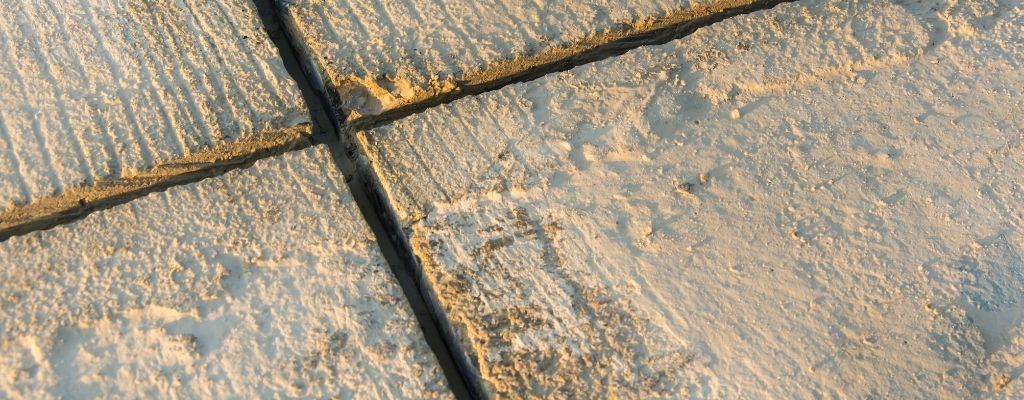
Control joints help manage the movement by encouraging any cracking to occur in planned locations rather than randomly across the slab.
The joints should be installed before the concrete hardens completely and spaced appropriately for the slab size.
Although they may not seem important at the time, control joints play a major role in the long-term performance of concrete.
Step 5: Tidy The Edges
The edges of a slab are often the most vulnerable part of the concrete. So, using an edging tool rounds off the perimeter and helps reduce the risk of chipping or breaking in the future. It also gives the finished slab a cleaner, more professional appearance.
It’s a relatively quick step, but one that can make a noticeable difference to the final result.
Step 6: Apply A Brushed Finish
For most outdoor concrete surfaces, a brushed finish is the preferred option.
Once the concrete has reached the correct stage of setting, draw a stiff-bristled broom across the surface to create a light texture that improves grip underfoot and helps make the surface safer in wet conditions.
Adjust the texture depth based on the intended use of the concrete, but in most cases, a light, even brush pattern works best.
Step 7: Allow The Concrete to Cure
Finishing doesn’t end once the surface looks good because concrete continues to gain strength for days and even weeks after it has been poured. If it dries too quickly, the surface can become weaker and more susceptible to cracking.
During warm, dry or windy weather, keeping the concrete damp or covering it with plastic sheeting can help slow down moisture loss and improve curing.
Patience during this critical stage often pays off in the long term.
How to Further Improve Concrete Finishing Results
Once the concrete has fully cured, applying a sealer can provide additional protection.
Concrete sealers help reduce water penetration, minimise staining and make the surface easier to maintain. Sealers can be beneficial for patios, driveways, and other outdoor surfaces exposed to the elements.
While not always essential, sealing is often a worthwhile investment if you want to maximise the lifespan of your concrete.
How Flowmix Can Help with Your Project
Flowmix has two plants, Gloucester and Walsall. We provide the following services (with time slots):
✅ Ready-mix concrete, mix on-site (volumetric concrete)
✅ Traditional and liquid screed.
✅ Concrete line pump Hire to reduce manual labour and associated costs, increase efficiency, reduce wastage and clean up.
✅ Interlocking concrete blocks for temporary or permanent barriers.
✅ Mini-Mix loads up to 4 cubic metres.
Flowmix holds the BSA-approved Ready Mix Concrete Kitemark KM683844, a certification that “confirms a product or service’s claim has been independently and repeatedly tested by experts” (source BSI).
Flowmix Tewkesbury: Tel: 01684 217888 Flowmix Walsall: Tel: 01922 741731
Flowmix Delivery Areas
| Tewkesbury | Walsall Plant |
| Bourton-on-the-Water | Aldridge |
| Brockworth | Barton-Under-Needwood |
| Chalford | Birmingham |
| Cheltenham | Brownhills |
| Chipping Campden | Burntwood |
| Cirencester | Burton Upon Trent |
| Droitwich Spa | Cannock |
| Evesham | Coleshill |
| Gloucester | Dudley |
| Great Malvern | Great Haywood |
| Ledbury | Lichfield |
| Newent | Norton Canes |
| Northleach | Penkridge |
| Pershore | Rugeley |
| Ross-on-Wye | Stafford |
| Stow-on-the-Wold | Tamworth |
| Stroud | Walsall |
| Tewkesbury | West Bromwich |
| Worcester | Wolverhampton |