A concrete shed base is a solid, long-lasting foundation for your garden shed, ensuring durability and stability for years. While hiring a professional can be convenient, doing it yourself can save money and provide a sense of accomplishment. Here’s how to easily lay a concrete shed base yourself, step by step.
✅ Order ready-mix or volumetric concrete today
✅ Free, fast quote within 24 hours
✅ Call, message or complete our simple online form
Flowmix Tewkesbury: Tel: 01684 217888 Flowmix Walsall: Tel: 01922 741731
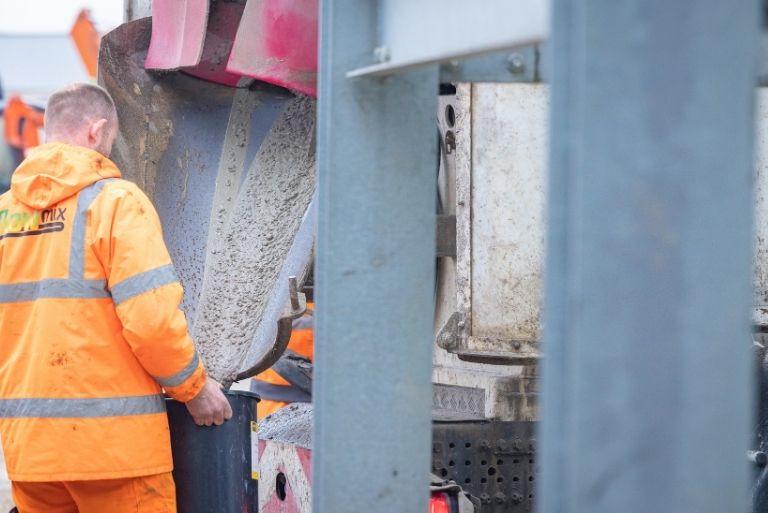
Why Choose Ready Mix Concrete?
Using ready-mix concrete is an excellent way to save time and effort on your DIY project, especially when working alone. That said, mixing concrete by hand is practical only for small areas. It can be a time-consuming process that requires precise measurement, proper ratios, and the ability to judge concrete consistency by sight.
Read: Concrete Slump Test: What is it & Why Does It Matter?
Why You Need a Concrete Shed Base
A concrete base provides a flat, stable, long-lasting foundation, preventing your shed from sinking or shifting. It also protects against moisture, pests, and uneven weight distribution.
Tools and Materials You’ll Need
Before you lay a concrete shed base, gather the following tools and materials:
Tools:
- Trowel
- Shovel
- Spirit level
- Rubber mallet
- Concrete float
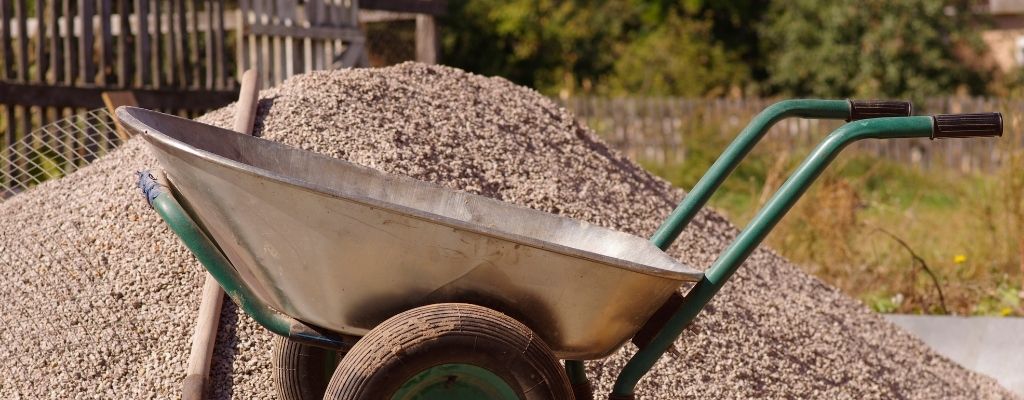
- Wheelbarrow
- Tape measure
- Wooden stakes
Materials:
- Concrete mix
- Wooden planks (for the frame)
- Gravel
- Sand
- Water
Step 1: Check Weather Conditions
Hot Weather: Concrete cures too fast in hot weather, which causes it to set prematurely. The problem is that fast curing can create structural weakness, cause surface defects or completely fail altogether.
If you suddenly experience a freakishly hot day and you’ve already committed to the project, you can try the following:
- Precool the ingredients.
- Hydrate with misting – but don’t over dampen.
- Shade and insulate the area to avoid direct sunlight.
- Consider laying the shed base early morning or later in the day when temperatures cool.
Cold Weather: When it’s cold, setting times slow down and can affect concrete strength.
To combat cold weather conditions when you lay a concrete shed base, here are some tips:
- Warm the materials (water, cement and aggregates) before mixing.
- Insulate the surfaces and forms to reduce the risk of freezing.
- Cover the freshly poured concrete with tarps or blankets, ensuring there is sufficient ventilation to prevent condensation.
Wet Weather: There’s more chance of wet weather in the UK than other conditions, so it’s best to prepare. Excessive rainfall can weaken the cement mix by diluting the cement-water ratio, reducing concrete strength and other issues.
To combat excessive rain, consider the following options:
- Use Waterproof Admixtures: They can improve water resistance by creating a barrier preventing water penetration.
- Monitor Weather Forecasts: Choose a time when there’s a break in the rainfall.
- Cover the Concrete: Shield the newly poured shed base with waterproof tarps to minimise exposure to rain.
Read: Concrete Weather Conditions: Flowmix Gloucester Top Tips
Need Expert Advice?
Speak to the team at Flowmix Tewkesbury or Walsall. We are happy to help with all your concrete requirements.
Flowmix Tewkesbury: 01684 217888 Flowmix Walsall: Tel: 01922 741731
Step 2: Choose the Best Location
Pick a flat area that isn’t prone to waterlogging. Ensure the site is accessible and provides enough clearance for your shed’s size and intended use.
Pro Tip: Use spray paint or stakes and string to mark out the area.
Step 3: Measure and Mark the Base
- Measure the shed’s dimensions and add an extra 4-6 inches on all sides for overhang.
- Mark the area using wooden stakes and string to create a rectangle or square.
Step 4: Prepare the Ground
- Clear the Site: Remove grass, plants, and debris from the area.
- Excavate the Ground: Dig about 6 inches to create space for the base layers.
- Level the Surface: Use a spirit level to ensure the ground is flat.
Step 5: Build a Wooden Frame
- Cut wooden planks to match the dimensions of your base.
- Assemble the frame and secure it with screws or nails.
- Place the frame on the prepared ground and check it is level.
Step 6: Lay the Sub-Base
- Add Gravel: Pour a 3-inch layer of gravel into the frame for drainage.
- Compact It: Use a tamper or a heavy object to compact the gravel.
- Add Sand: Spread a 1” layer of sand over the gravel to create a smooth surface.
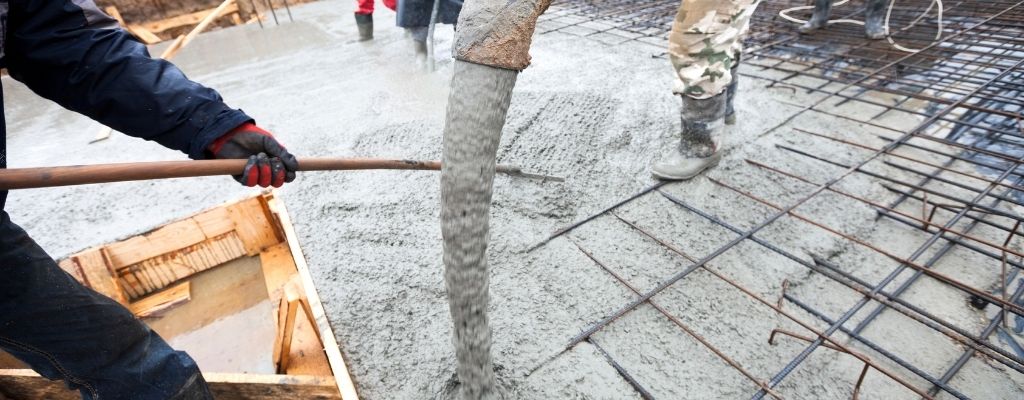
Step 7: Mix and Pour the Concrete
- Mix the Concrete: Follow the simple instructions on the back of the concrete mix bag. Aim for a thick, smooth consistency.
- Pour the Concrete: Fill the wooden frame with the concrete mix, starting from one end.
- Spread Evenly: Using a shovel or trowel, spread the concrete evenly across the frame.
Step 8: Level and Smooth the Surface
- Use a straight plank or a screed board to level the concrete by running it across the frame edges.
- Smooth the surface with a concrete float for a professional finish.
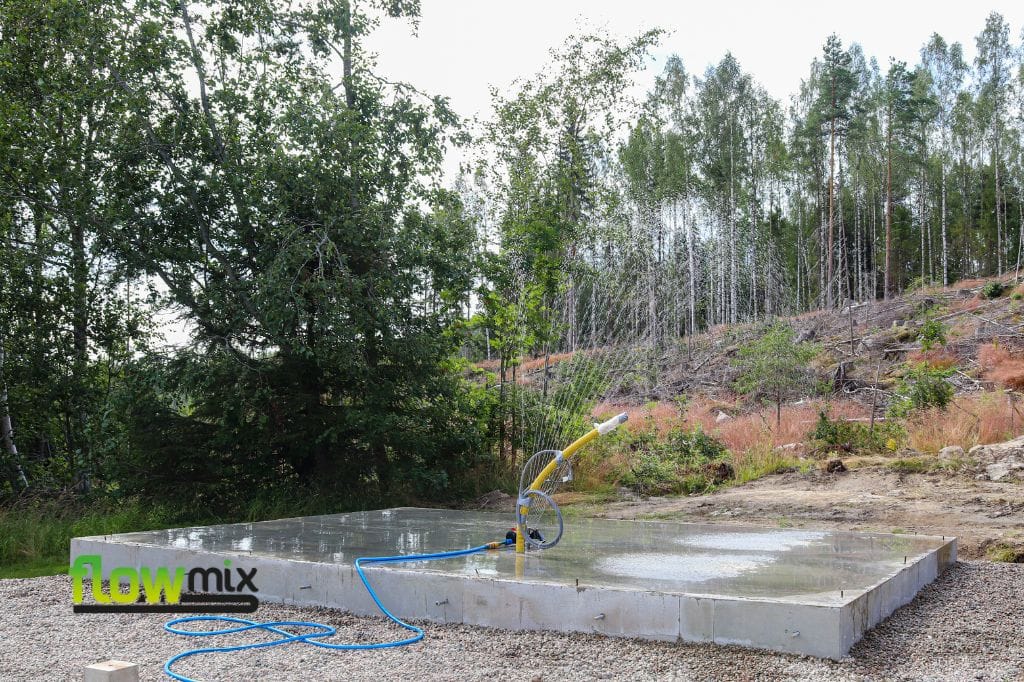
Step 9: Let It Cure
- Allow the concrete to set for at least 24-48 hours before removing the frame.
- Avoid placing heavy objects on the base until fully cured (about 7 days).
Tips for A Successful Shed Base
- Work Quickly: Concrete sets fast, so have everything ready before you start mixing.
- Check the Weather: Choose a dry day to avoid rain-related issues affecting the curing process.
- Safety First: Wear sturdy gloves and safety goggles when handling concrete.
Ready to Order?
✅ Order ready-mix or volumetric concrete today
✅ Free, fast quote within 24 hours
✅ Call, message or complete our simple online form
Flowmix Tewkesbury: Tel: 01684 217888 Flowmix Walsall: Tel: 01922 741731
Conclusion
When you lay a concrete shed base yourself, you’ll see it isn’t a complicated process. It’s a straightforward DIY project if you prepare well, watch the weather, use the right tools, and materials. Not only will you save money, but you’ll also gain the satisfaction of building a sturdy foundation for your shed.
Follow these steps, and you’ll have a durable base ready for your garden shed in no time!
How Flowmix Can Help With Your Project
Flowmix has two plants, Gloucester and Walsall. We provide the following services (with time slots):
✅ Ready-mix concrete, mix on-site (volumetric concrete)
✅ Traditional and liquid screed.
✅ Concrete line pump Hire to reduce manual labour and associated costs, increase efficiency, reduce wastage and clean up.
✅ Interlocking concrete blocks for temporary or permanent barriers.
✅ Mini-Mix loads up to 4 cubic metres.
Flowmix holds the BSA-approved Ready Mix Concrete Kitemark KM683844, a certification that “confirms a product or service’s claim has been independently and repeatedly tested by experts” (source BSI).
Flowmix Delivery Areas
| Tewkesbury | Walsall Plant |
| Bourton-on-the-Water | Aldridge |
| Brockworth | Barton-Under-Needwood |
| Chalford | Birmingham |
| Cheltenham | Brownhills |
| Chipping Campden | Burntwood |
| Cirencester | Burton Upon Trent |
| Droitwich Spa | Cannock |
| Evesham | Coleshill |
| Gloucester | Dudley |
| Great Malvern | Great Haywood |
| Ledbury | Lichfield |
| Newent | Norton Canes |
| Northleach | Penkridge |
| Pershore | Rugeley |
| Ross-on-Wye | Stafford |
| Stow-on-the-Wold | Tamworth |
| Stroud | Walsall |
| Tewkesbury | West Bromwich |
| Worcester | Wolverhampton |