Thinking of transforming your garden with a new patio? Whether you’re planning a place to relax, entertain, or simply add value to your home, learning how to lay a concrete base is where it all begins.
A strong, level base is the secret behind every long-lasting patio, and the good news is, with the right approach, it’s something you can do yourself.
In this step-by-step guide, we’ll walk you through everything you need to know to lay a concrete base properly, from preparing the ground and building your frame to mixing, pouring and curing the concrete.
If you’re aiming for a smooth, stable finish that stands the test of time, you’re in the right place.
Step 1: Prepare the Ground
Before you even think about pouring concrete, it’s crucial to prepare the ground properly. If you want to lay a concrete base that lasts, getting this first step right makes all the difference.
Start by marking out the area for your patio using pegs and string. That helps you visualise the final shape and ensures your measurements are spot on.
Next, remove any grass, turf, or loose soil within your marked-out space.
Step 2: Dig to the Correct Depth
Dig down to a depth of around 150mm (6 inches) to allow room for a solid sub-base and the concrete slab itself. The goal here is to create a level, compacted surface that can support the weight of your patio without shifting or sinking.
Once you’ve dug out the area, use a rake to level the ground as much as possible. Then go over it with a tamper or plate compactor to firm it up. A solid sub-base is key when you lay a concrete base, so don’t skip this bit, even if it’s tempting!
If your soil is exceptionally soft or clay-heavy, consider adding a layer of crushed hardcore or MOT type 1 material to help create a strong foundation that won’t shift or sink over time. It also allows for good drainage, helping to prevent water from pooling beneath your slab.
Compact this down thoroughly to create a strong foundation ready for the next step.
Note: Before you lay a concrete base, don’t forget the damp-proof membrane (DPM). Lay it out neatly, making sure to turn up the edges slightly to form a tray. Overlap any joints by at least 100mm and tape them securely.
This step helps protect your slab from moisture rising through the ground and stops the concrete from drying out too fast, which can lead to cracking.
What Is MOT Type 1?
MOT Type 1 is a crushed aggregate material commonly used as a sub-base for driveways, paths, and patios. It consists of a mix of crushed stone, gravel, and fines (dust), which compacts down to form a solid and stable base.
The name “MOT” stands for Ministry of Transport, as it meets the specifications required for use on roads and highways in the UK.
Need Expert Advice?
Speak to the team at Flowmix Tewkesbury or Walsall. We are happy to help with all your concrete requirements.
Flowmix Tewkesbury: 01684 217888 Flowmix Walsall: Tel: 01922 741731
Step 3: Frame the Concrete Slab
Next up, it’s time to build the formwork, which is a sturdy wooden frame that will hold the shape of your slab while the concrete sets. This step is essential if you want to lay a concrete base that’s level, well-shaped, and doesn’t slump or spill over the edges.
Use 25mm-thick timber planks to create the formwork, securing them firmly with wooden stakes or pegs. The top edge of your timber boards will act as the finished height of the concrete slab, so take your time here. Double-check the height, width, and depth of the frame to make sure everything lines up with your original plans.
It’s also essential to allow for water runoff, especially if you’re laying a patio. Aim for a gentle slope of around 50mm for every three metres, sloping away from any buildings to prevent puddling or drainage issues later on.
Taking care at this stage means you’ll have a clean edge and a smooth finish when you lay your concrete base, with no unexpected lumps, dips, or wonky lines.
Step 4: Work Out How Much Concrete You Need
Once you’ve prepped the ground and the formwork is in place, you’re nearly ready to lay a concrete base. But before you pour, you’ll need to know precisely how much concrete to order, and that’s where our handy online concrete calculator comes in.
Just enter the shape and dimensions of your slab. Whether it’s a simple square or rectangle, a triangle, or even part of a circle, the calculator will give you a quick and accurate estimate of the volume of concrete required. If your patio base is a bit more complex, don’t worry. You can break it down into sections and add the shapes together to get the total.
Knowing the correct amount in advance saves time, money, and mess. Over-order and you’ll waste product. Under-order and you’ll risk a weak finish or rushed mix to top it up. Either way, the key to a flawless finish when you lay a concrete base is being well-prepared, and that starts with the right volume.
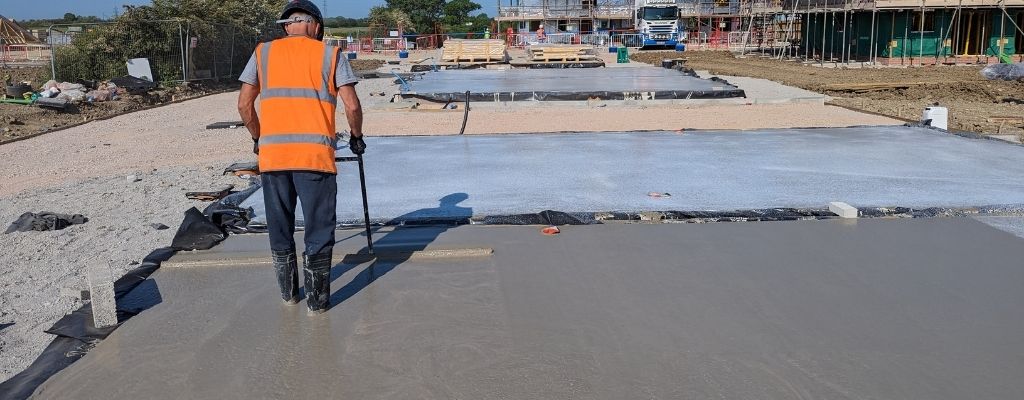
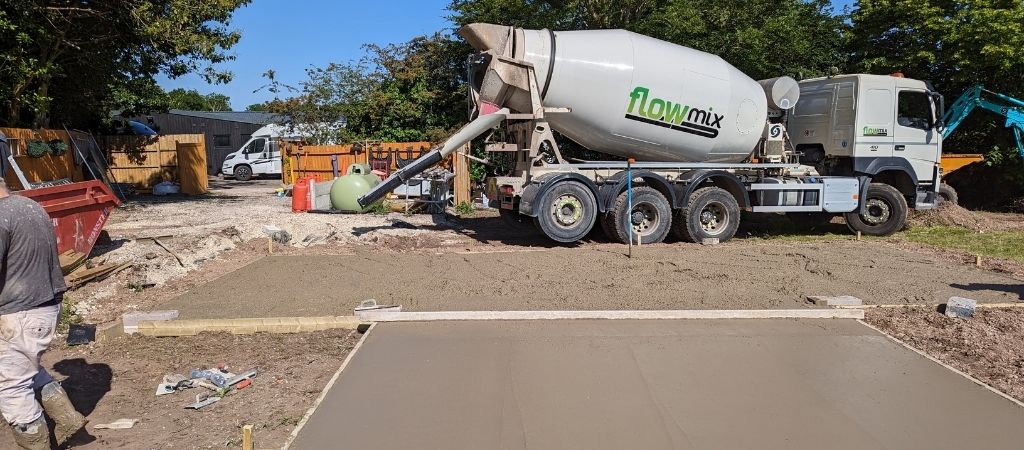
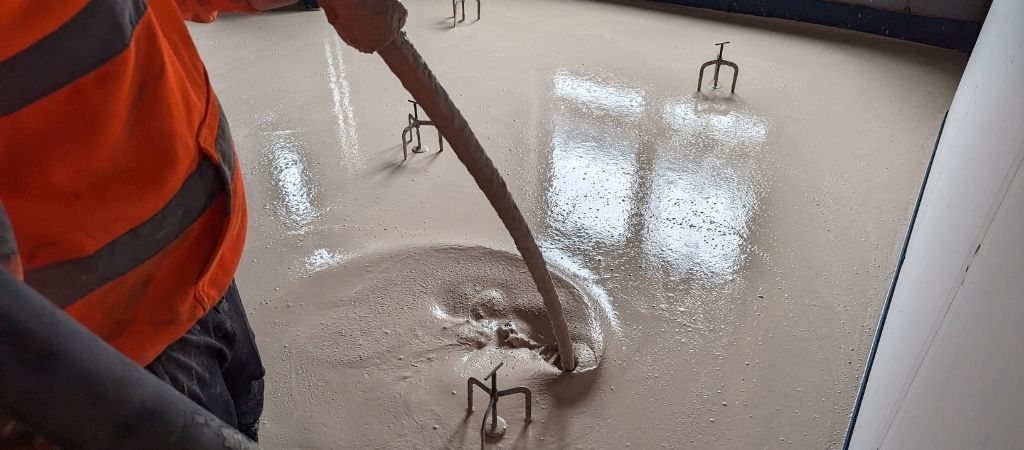
Step 5: Pour the Concrete
Now it’s time to pour! Once your concrete arrives, you’ll need to move quickly because it typically begins to harden within two hours of being mixed, so getting it unloaded and levelled promptly is key to a smooth finish. If you want to lay a concrete base with minimal stress, preparation is everything.
Flowmix provides a two-hour timed delivery spot, so you can rest assured you won’t be standing about wondering when your concrete will get delivered.
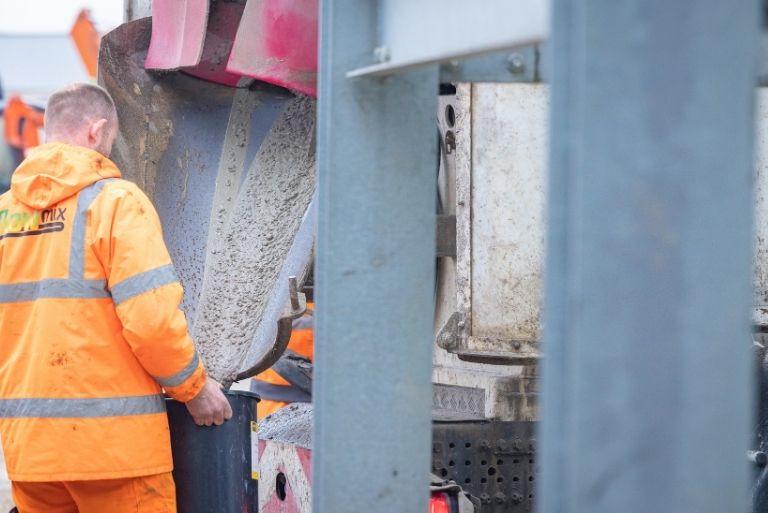
Make sure your site is ready ahead of delivery. The truck will need good access and a stable surface to park on. These vehicles are heavy, so soft ground or narrow driveways can be an issue.
If your site is a bit awkward or access is tight, don’t panic. Flowmix offers concrete line pump hire. It’s a 70 metre line which is ideal for reaching those tricky areas that a delivery truck can’t access directly. A line pump saves time, reduces mess, and makes it far easier to lay a concrete base in hard-to-reach spots.
If you’re moving the concrete by wheelbarrow instead, be aware that 1m³ of concrete will fill around 40 barrow loads, so you’ll want a few extra hands to keep things moving fast.
Ready to Order Ready-Mix or Volumetric Concrete?
If you are ready to order a ready-mix concrete delivery, speak to the team at Flowmix Tewkesbury or Walsall. We will help you select the right mix and quantities and arrange for fast delivery to your site.
Flowmix Tewkesbury: 01684 217888 Flowmix Walsall: Tel: 01922 741731
Step 6: Tamp the Concrete
You want an even, compact surface, as this is the foundation for everything that follows.
So, once you’ve poured your mix, it’s time to tamp the surface. This step is vital if you want to lay a concrete base that’s free from air pockets and well compacted.
Use a straight-edged timber beam and run it back and forth across the slab, pressing down firmly and working from one end to the other. That helps the concrete settle into all corners of the formwork and ensures an even thickness across the entire surface.
Tamping also brings the finer particles to the top, creating a slightly textured finish that’s ideal for patios. If you prefer a neater surface, you can go over it with a steel float as the concrete begins to firm up.
Just bear in mind, while a smooth finish looks smart, it can be pretty slippery, especially when wet. That’s why many people prefer the grip of a tamped texture when they lay a concrete base for outdoor use.
Step 7: Cure the Concrete
Curing often gets overlooked, but it’s one of the most critical steps when you lay a concrete base. If concrete dries too quickly, it can crack or lose strength. To avoid this, cover the slab with plastic sheeting or damp hessian to retain moisture while it cures.
Bear in mind, if the weather is hot, concrete can cure too fast.
Concrete usually gains enough strength to handle light foot traffic after about 48 hours, but if you can, leave it undisturbed for at least five days. Technically, you can remove the formwork after 24 hours, but leaving it in place for 72 hours helps protect the slab edges from chipping or damage.
It’s also worth knowing that curing and drying are two different things. While concrete reaches its full strength in around 28 days, it can take far longer to dry completely. A general rule is one day of drying per millimetre of thickness. So, a 100mm thick slab may take up to three months to fully dry out, especially if protected from wind and sun.
Taking the time to cure the concrete properly gives you a stronger, more reliable result and ensures your efforts to lay a concrete base pay off in the long run.
Conclusion
Knowing how to lay a concrete base correctly is the foundation for any successful patio or outdoor project. By preparing the ground carefully, framing accurately, and taking your time with pouring and curing, you’ll create a strong, durable base built to last.
Whether you’re a DIY enthusiast or hiring professionals, following these steps ensures your concrete base will stand the test of time.
If you need expert help or equipment, Flowmix is here to support you every step of the way, from quality materials to concrete pump hire for those tricky spots and interlocking concrete blocks for temporary or permanent barriers.
Flowmix has the BSA-approved Ready Mix Concrete Kitemark KM683844, a certification that “confirms a product or service’s claim has been independently and repeatedly tested by experts” (source BSI).
How Flowmix Can Help With Your Project
Flowmix has two plants, Gloucester and Walsall. We provide the following services (with time slots):
- Ready-mix concrete, mix on-site (volumetric concrete) and liquid screed.
- Concrete line pump Hire to reduce manual labour and associated costs, increase efficiency, reduce wastage and clean up.
- Interlocking concrete blocks for temporary or permanent barriers.
- Mini-Mix loads up to 4 cubic metres.
Flowmix has the BSA-approved Ready Mix Concrete Kitemark KM683844, a certification that “confirms a product or service’s claim has been independently and repeatedly tested by experts” (source BSI).
Flowmix Tewkesbury: 01684 217888 Flowmix Walsall: Tel: 01922 741731
Flowmix Delivery Areas
| Tewkesbury | Walsall Plant |
| Bourton-on-the-Water | Aldridge |
| Brockworth | Barton-Under-Needwood |
| Chalford | Birmingham |
| Cheltenham | Brownhills |
| Chipping Campden | Burntwood |
| Cirencester | Burton Upon Trent |
| Droitwich Spa | Cannock |
| Evesham | Coleshill |
| Gloucester | Dudley |
| Great Malvern | Great Haywood |
| Ledbury | Lichfield |
| Newent | Norton Canes |
| Northleach | Penkridge |
| Pershore | Rugeley |
| Ross-on-Wye | Stafford |
| Stow-on-the-Wold | Tamworth |
| Stroud | Walsall |
| Tewkesbury | West Bromwich |
| Worcester | Wolverhampton |
FAQs
What Safety Measures Do I Need To Take Around Concrete?
Always wear protective gear such as gloves, safety goggles, and a mask to avoid skin irritation and inhaling dust. Concrete can cause chemical burns, so avoid direct contact with wet mix and wash thoroughly if exposed. It easy to make mistakes when handling concrete, so always take precautions.
How Long Does It Take For A Concrete Base To Cure Fully?
Concrete typically takes 28 days to reach full strength, but it gains enough hardness for light use after 48 hours. Proper curing by keeping it moist during this time is essential for durability.
Can I Lay A Concrete Base Myself, Or Should I Hire A Professional?
Many DIYers successfully lay concrete bases with the right tools and preparation. However, for larger or complex projects, or if you want a flawless finish, hiring a professional may be a good idea.
What Is The Purpose Of A Damp-Proof Membrane (DPM)?
A DPM prevents moisture from rising through the ground into the concrete slab. That protects the base from damp-related damage and helps the concrete cure properly without drying out too quickly.
How Do I Know How Much Concrete To Order For My Base?
Use an online concrete calculator by inputting the shape and dimensions of your base. It will give you an accurate estimate, helping avoid costly over-ordering or running short during the pour. If you’re unsure, contact Flowmix for guidance.
Can I Use A Concrete Pump For Hard-to-Reach Areas?
Yes! If your site is awkward or tight, hiring a concrete line pump, like those available from Flowmix, can help deliver concrete precisely where you need it, saving time and effort.